**To utilize the Customer Vault in the Easy Pay Direct gateway, the Customer Vault service will need to be agreed to and enabled.**
Text Instructions for the Customer Vault in the Easy Pay Direct Gateway
Step 1: Login to the gateway account as ‘ADMIN’ User.
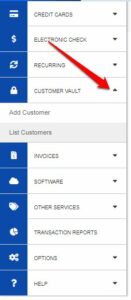
Step 2: Click on ‘Customer Vault’.
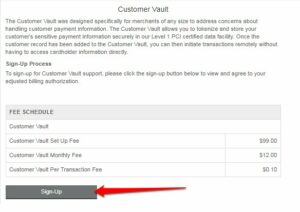
Step 3: Click ‘Sign-up’ to proceed.
Step 4: All add-on services require a two-step authorization. Once you have clicked ‘Sign Up’ you will be redirected to an additional page where you will have to authorize and agree one final time.
Step 5: How an initial Customer Record creation works using the Customer Vault from the shopping cart or CRM.
- The Cardholder securely submits sensitive payment details directly to the Customer Vault.
- The Payment Gateway performs the requested operation and the results of the transactions are returned to the Merchant’s web application. Simultaneously, a Customer Vault token of “12345” which contains all customer data including payment details is created.
- The Merchant’s web application displays the appropriate message to the customer as to whether the transaction was approved or declined.
30 days later, Merchant wishes to charge the customer again using Customer Vault token “12345” - The Merchant’s web application connects to the Customer Vault and remotely loads customer record “12345” to initiate a $50.00 charge.
- The Payment Gateway processes the transaction and responds to the merchant with the transaction response from the processor(s).
Step 6: Manually adding a customer to the Vault through the gateway.
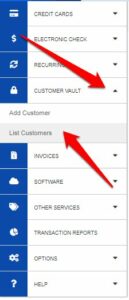
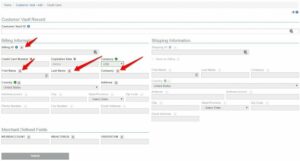
- Click ‘Add Customer’ under the ‘Customer Vault’ heading.
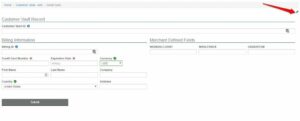
2. Click the type of entry you are adding; Credit Card or Electronic Check.
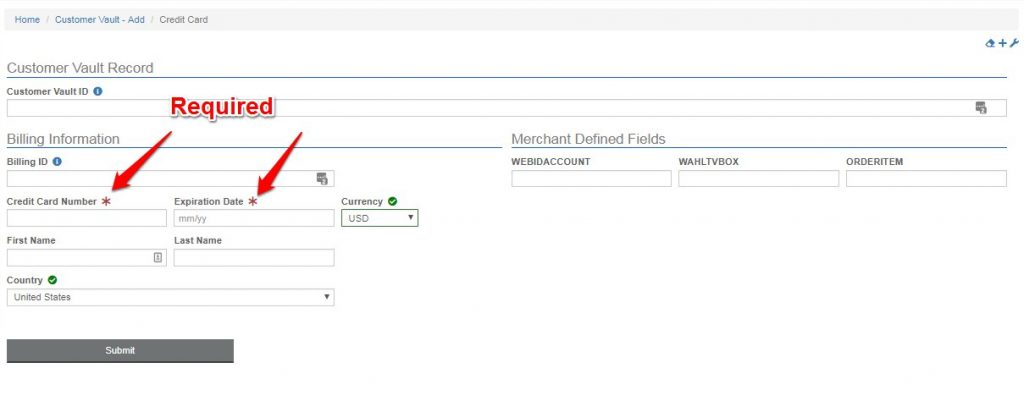
3. The only required information to enter will have a red asterisk * next to it. However, for the purposes of searching for a particular customer at a later date, filling in the majority of the other fields is a good idea and will make it easier to find.
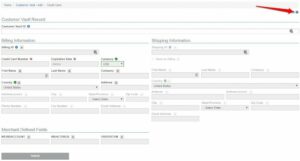
a. The fields can be customized with however much information you would like to provide. If you would like to get rid of certain fields entirely, click the settings gear to the top right of the page.
b. Any fields you want to exclude from all Customer Vault entries moving forward, click the red ‘x’ to the right of the field. That will eliminate the field from the entries moving forward.
c. Once finished, click the disk at the top right to save all changes.
4. Enter required information and any additional information you may be adding. Scroll to the bottom and click ‘Submit’.
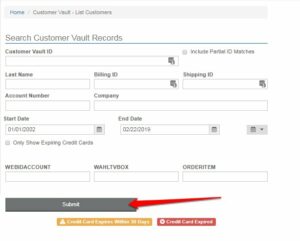
Step 7: You can also search for customers within the Customer Vault.
1. Click ‘List Customer’ under the ‘Customer Vault’ heading.
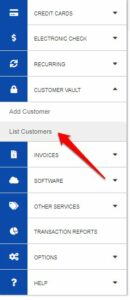
2. Enter any information you have that you want to search by into one of the fields and then click ‘Submit’.
Easy Pay Direct Customer Vault Value Proposition
Merchants who utilize the Customer Vault can process transactions and maintain an up-to-date customer database without storing any customer payment details. All sensitive customer data was transmitted through encrypted channels and authorizations, captures, refunds and settlements were managed remotely without storing any cardholder data locally. This gives the merchant unparalleled application flexibility while shifting its liability of PCI compliancy.
The Customer Vault can store both credit card and electronic check payment details. Access to the Customer Vault is granted through a secure online interface. The interface specification is described by an API (Advanced Programmers Interface) Integration Manual which is sent by request to the project manager. The Customer Vault and Payment Gateway interface has been Level 1 PCI compliant since 2004.
In essence: You won’t have the liability for storing your own payments!


