When uploading batch files, 50,000 transactions can be run within 90 minutes.
Text Instructions for Batch Uploads with the Easy Pay Direct Gateway
Step 1: Login to merchant’s gateway account.
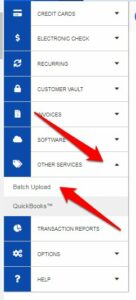
Step 2: Click on ‘Batch Upload’ from the ‘Main Menu’ under ‘Other Services’.
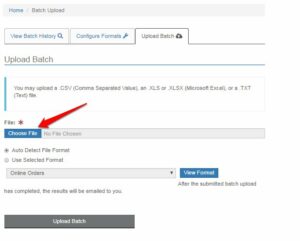
Step 3: Click ‘Choose File’ to select the file that you wish to upload.
Merchants can create a .csv, .xls, .txt transaction file to upload for processing. When creating this file, transactions can be mixed (i.e. auth, credit, sale, etc.).
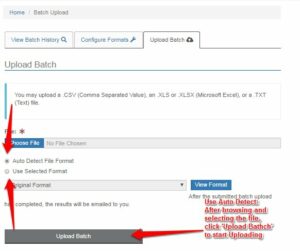
Step 4: Select ‘Format’ from one of the two options available.
Option 1: Auto Detect File Format will intelligently read the information within the file allowing the user to confirm the type of information in the respective field.
Option 2: Use Selected Format.
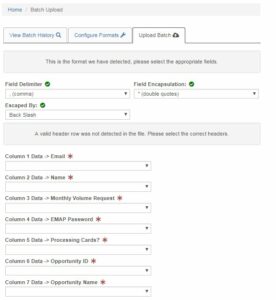
Step 5: Using Auto Detect.
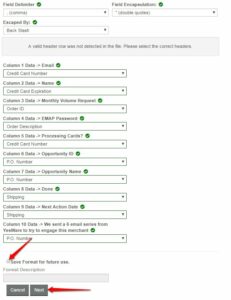
Auto Detect determines the field names based on the uploaded file. Fields with red asterisks are required fields as set by the Affiliate.
Select the drop down box and select the appropriate header for each column. If the field is not required, select ‘Ignore this Field’.
** Note: You have the option to ‘Save Format for Future Use’ for subsequent processing.
Step 6: Click ‘Next’ to complete the Batch Upload
Upon completion of the batch processing, the complete batch file can be viewed by clicking the blue batch name.
How do you Configure Formats?
There is also an option to create a format for your batch files. Configuring batch formats will allow the system to identify order and field types you commit.
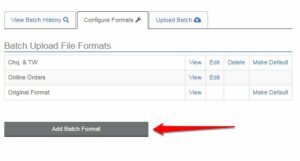
Step 1: Select the ‘Configure Formats’ icon from the top menu in the Batch Uploads feature.
Step 2: Click ‘Add Batch Format’.
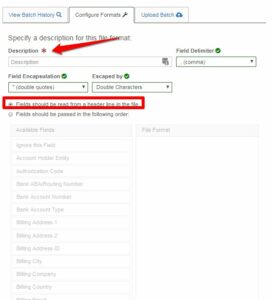
Step 3: Configure the settings for a new file format.
**Note: Fields with red asterisk are required fields set by the Affiliate
Step 4: Click Save to complete after filling out all the necessary fields.
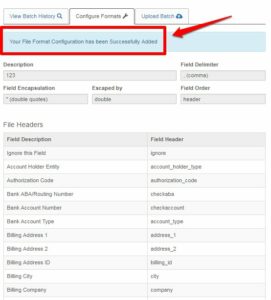
Step 5: File format has been successfully added.
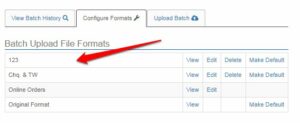
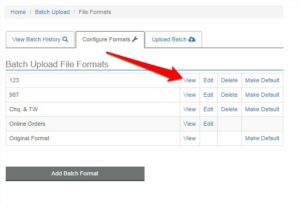
Step 6: New file format is listed under the Batch Upload File Formats menu. Options to View, Edit, Delete or Make Default are available. Click View to see the configuration.
Step 7: From the view menu, the merchant also has the option to edit the file format. Click Edit, at the bottom of the page, to access the file format’s configuration menu.


